
Tips for Capturing the Northern Lights with your Cellphone and DSLR Camera
This past weekend I took a trip to the Upper Peninsula of Michigan where I saw and captured a stunning timelapse of the Northern Lights that is posted above. Since posting the video and a few photos, we have received several inquiries from people on always wanting to capture the Lights, so I wanted to put together a guide for both photographers and those wanting to use their cellphones to capture the Northern Lights.
Below you will findbest solutions for both options, along with some of the equipment I might recommend to help you along the way. We do receive a small commission as an Amazon Affiliate if you were to use those links to make a purchase, but it does not cost you anything more, and helps to fund trips just like this!
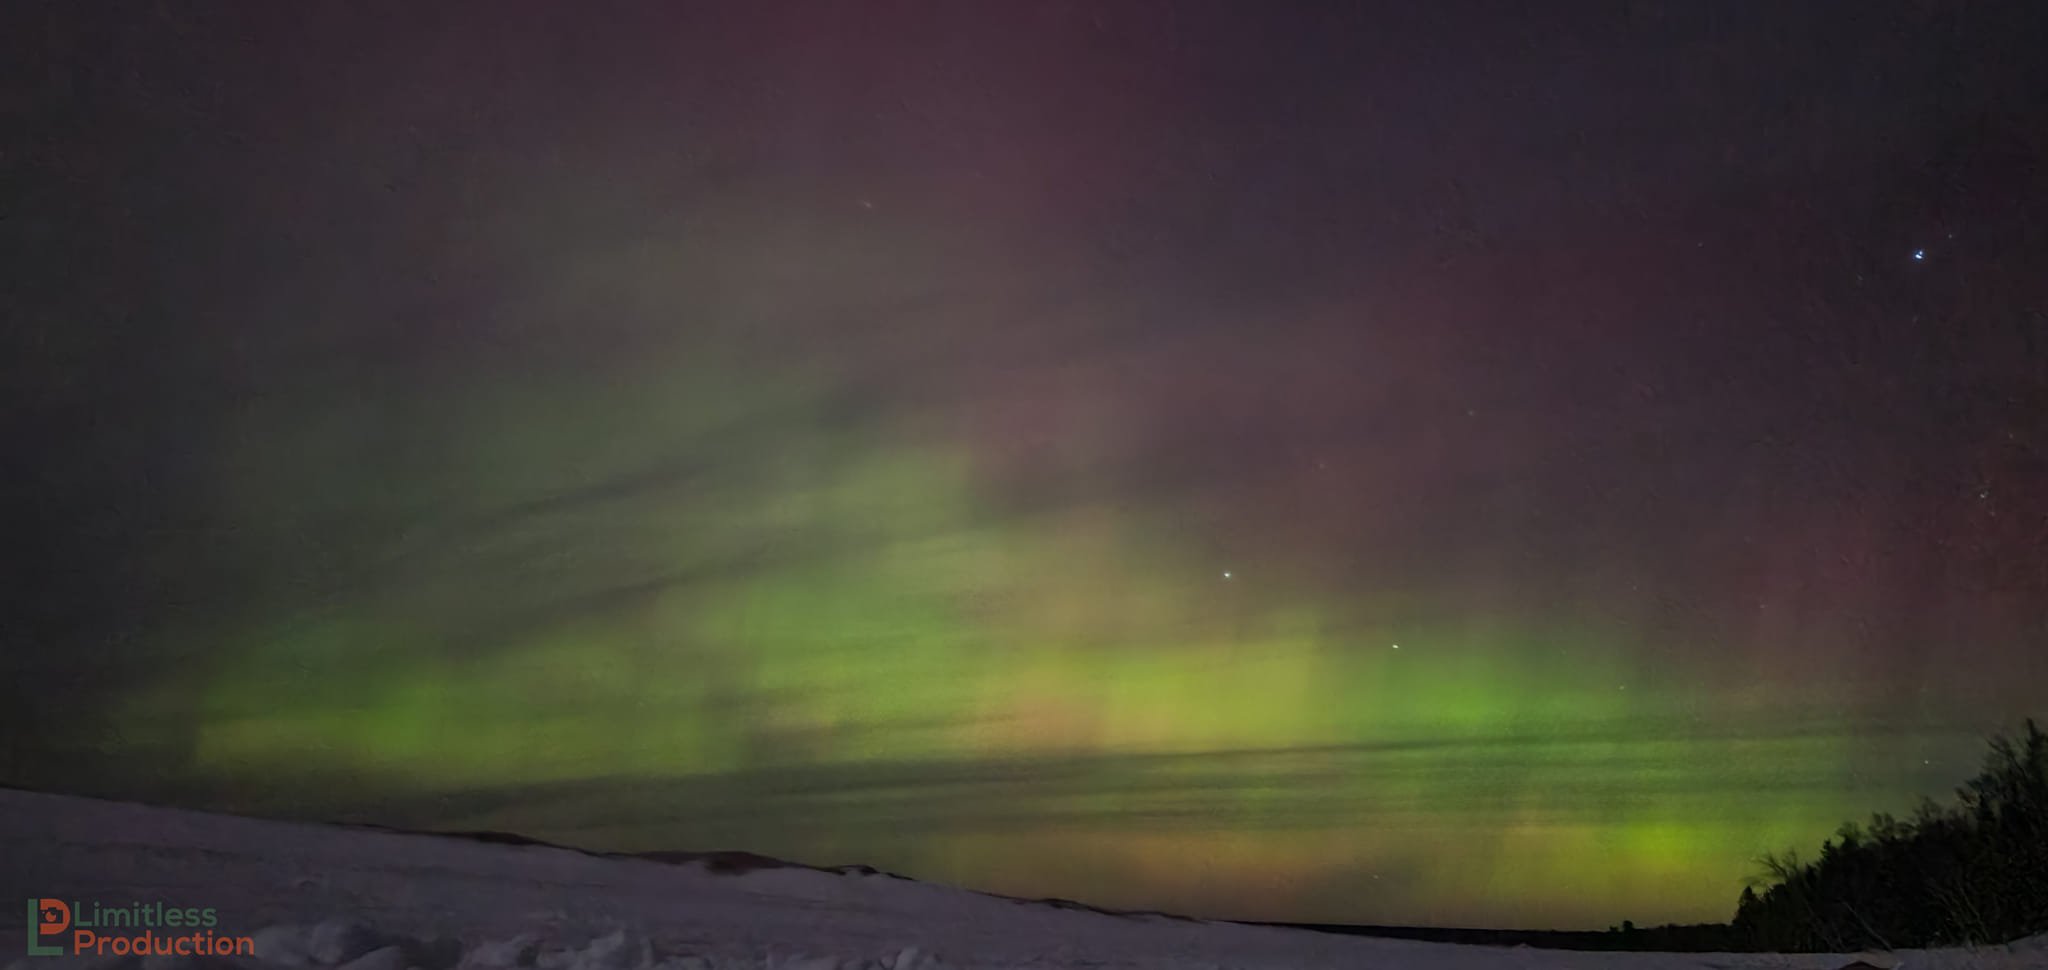
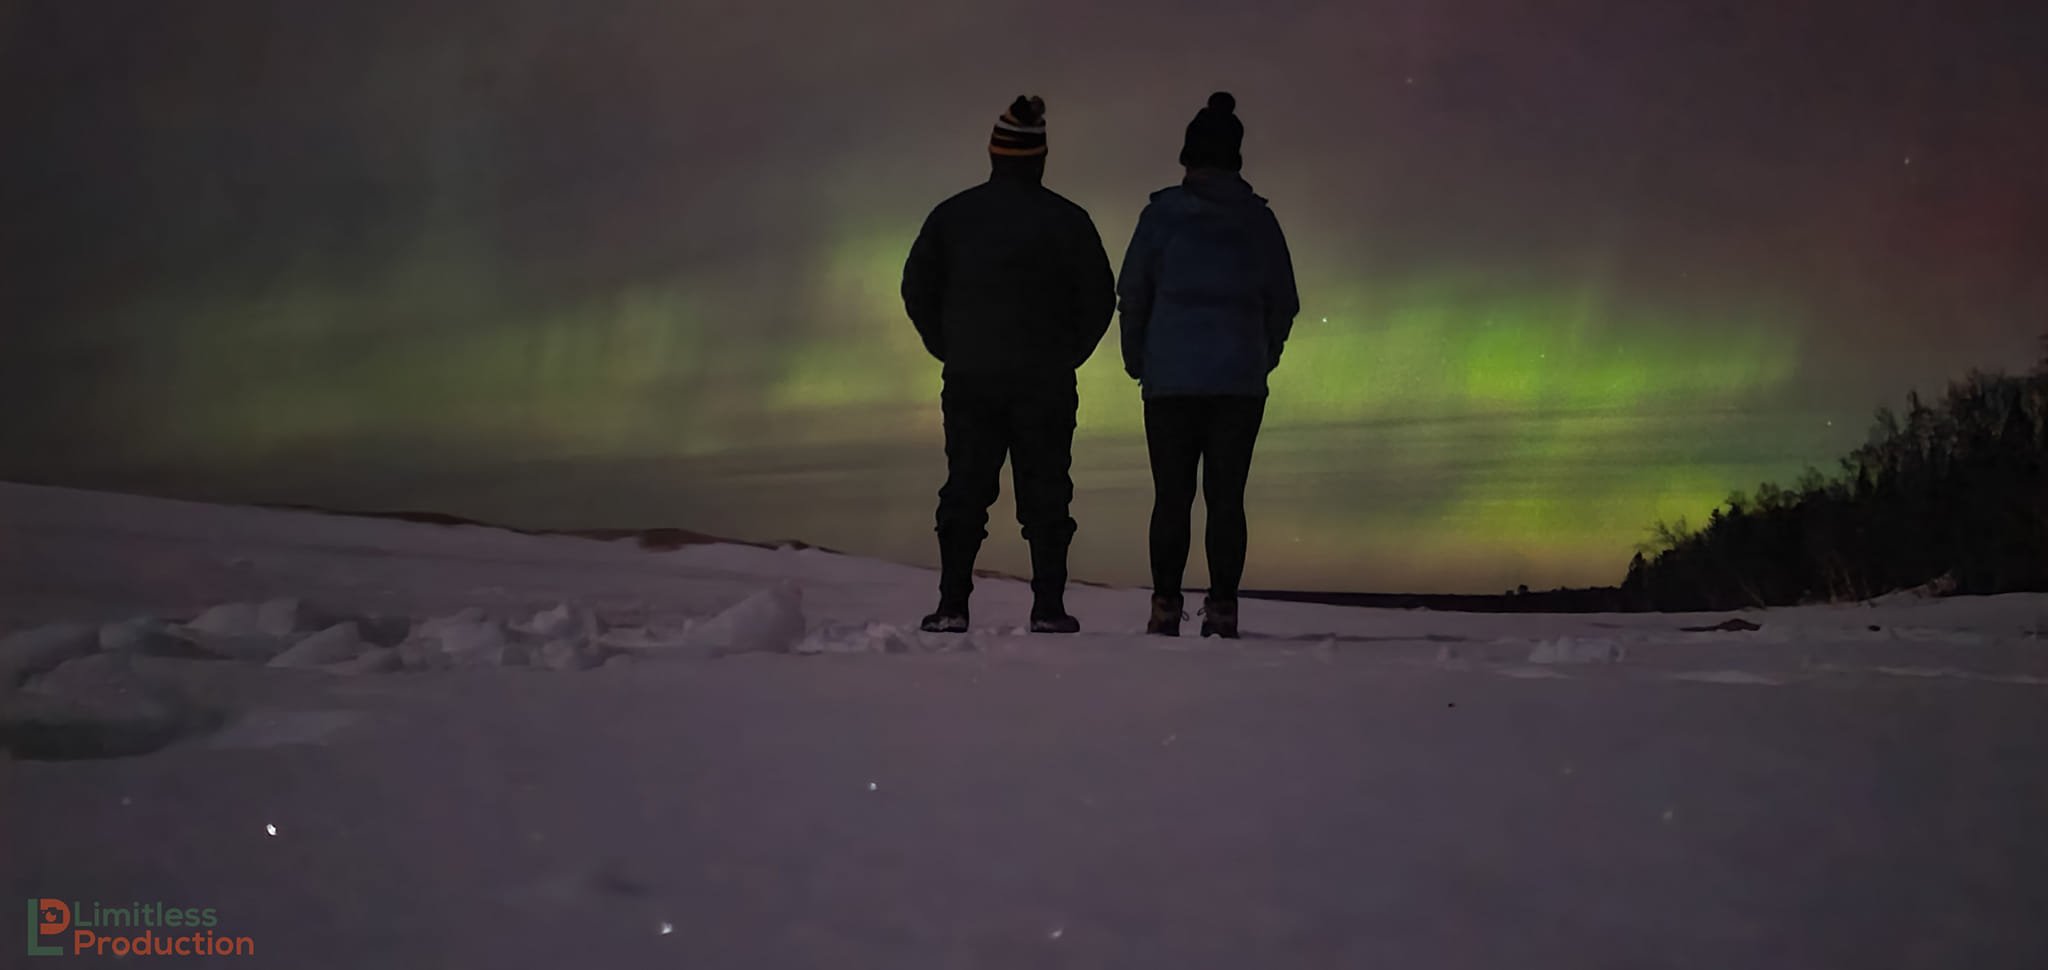

The above photos were long exposures taken with a Samsung Galaxy S10.
Tips for using your Cellphone
Before I begin, I know there are likely a handful of photographers rolling their eyes when I say you can use a cellphone, while the absolute best way to capture the lights is with a camera. You can still get some quality and stunning images with your cellphone. The three images above are an example of that.
The following are my recommendations for equipment and settings when it comes to capturing the Northern Lights with a cellphone from my personal experience, and some trial and error.
Tripod with a cellphone mount or something to prop your cellphone on so it stays up and steady. I didn’t have a spare tripod with a cellphone mount over the weekend, so I used the snow to prop my phone up. Had to be resourceful! BUT I do highly recommend the tripod below, as it came with both a camera and cellphone mount plate and has been one of my favorite tripods to use, especially for the price!
Simply setting your phone to “night photo” mode will work just fine!
Set your delayed photo timer, so you can click the photo button, get your phone set, and step back to ensure that your photo isn’t blurry or moving.
Tips for using your Camera
For those wanting to capture the Northern Lights with their DSLR camera, here are the settings and recommendations from my personal experience while using my Sony a6000. At the end of this blog, you will see three sample images I captured with my Sony a6000 camera based on the following settings.
You will obviously want to use a tripod, the one I mentioned earlier in this article is the one I again recommend, but I also recommend using a remote trigger or intervalometer. The intervalometer I have linked below is one I personally use with my Sony a6000 and recommend. They have connectors for the various camera brands including Nikon, Canon, Panasonic, Sony, and Fujifilm that vary per model.
The reason I recommend the intervalometer is because you won’t need to physically touch your camera when taking a photograph, just press the button or set it to capture a timelapse. This will take out any unnecessary shake that could happen when having to physically press the shutter button. Also allows you to just sit back and actually enjoy the show!
Set your lens to manual mode and dial in your focus! I will admit, this has been my mistake in most of my attempts at capturing the Northern Lights, I am always slightly out of focus.
I lucked out this last time with a half-moon to light up the snow-covered surroundings. You don’t have to do this, but to add a little extra to your image, you can bring a flashlight or lamp to light up an object in the foreground of your image if you would like. Again, not required, but can add to your photo if you are inclined.
When it comes to camera settings, I personally have found setting my ISO to around 1600-2000 is sufficient. This show ended up being one of the brighter displays, so the timelapse turned out well, but I’ve found when I go higher than 2000 I personally do not like the noise it introduces.
My aperture for these photos was f/3.5 with a shutter speed of around 20 seconds. I had started around 30 seconds, but with the moon and snow, I found that dropping my time down to around 20 seconds resulted in a more natural overall photograph. Generally speaking, 15-25 seconds usually works pretty well in most cases.
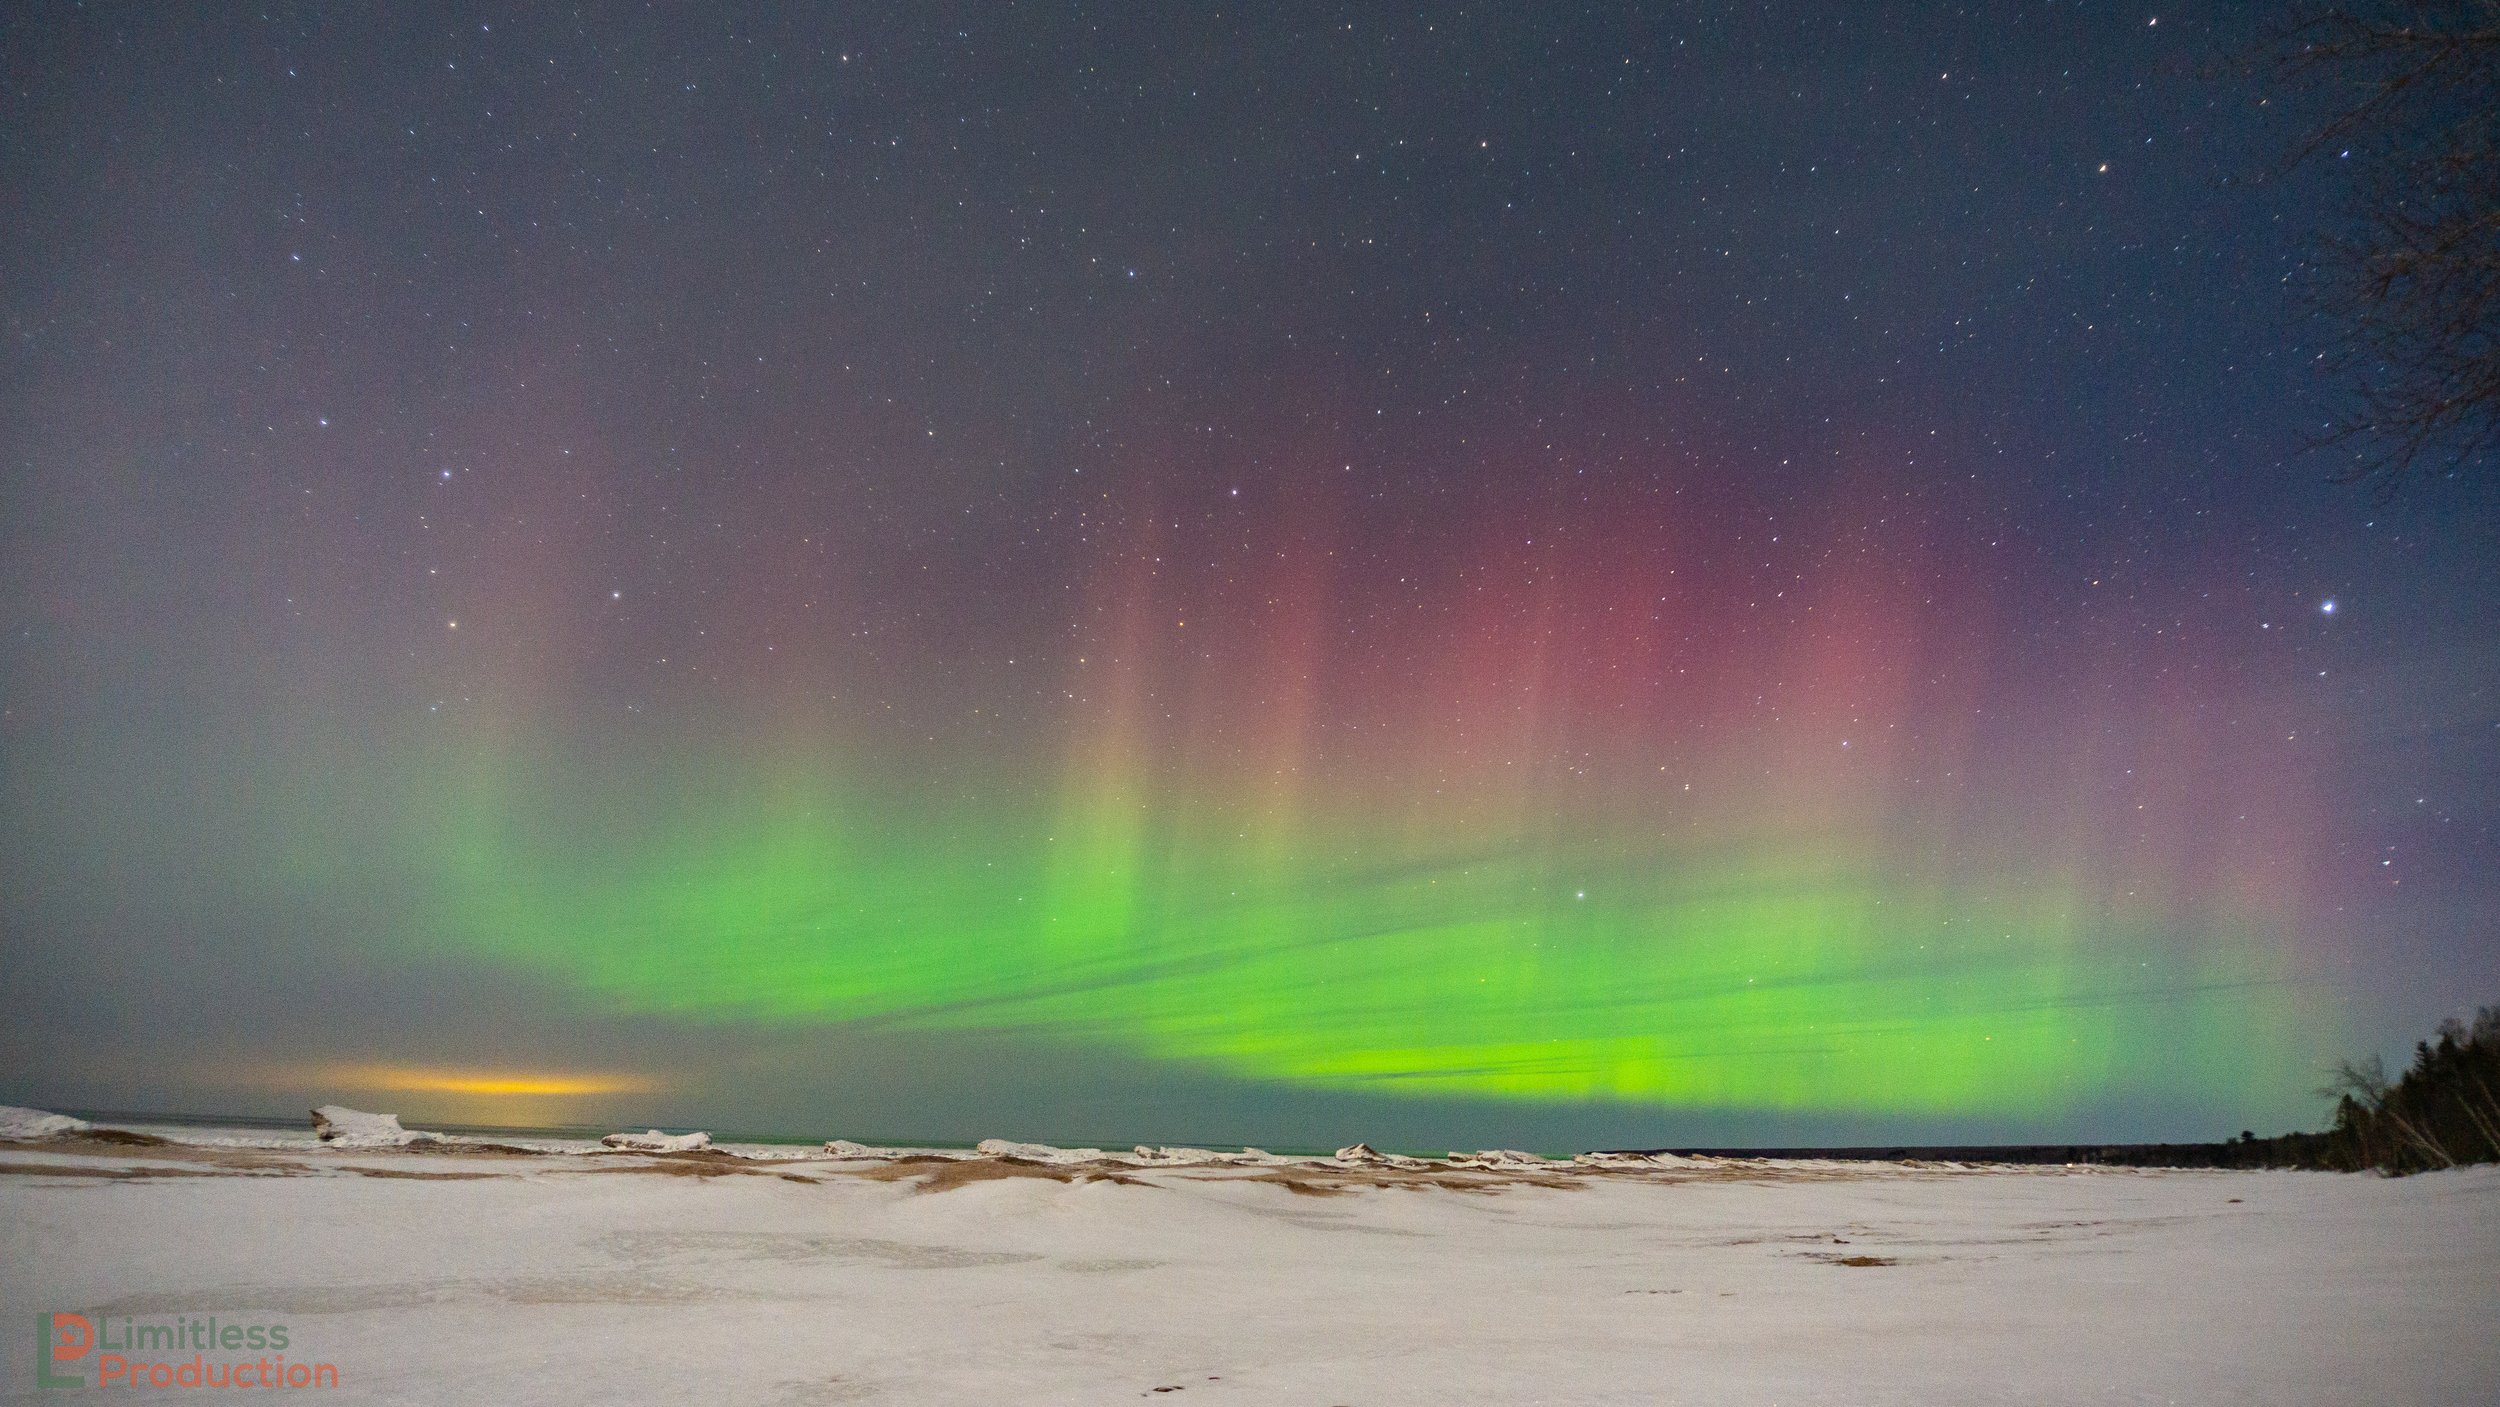
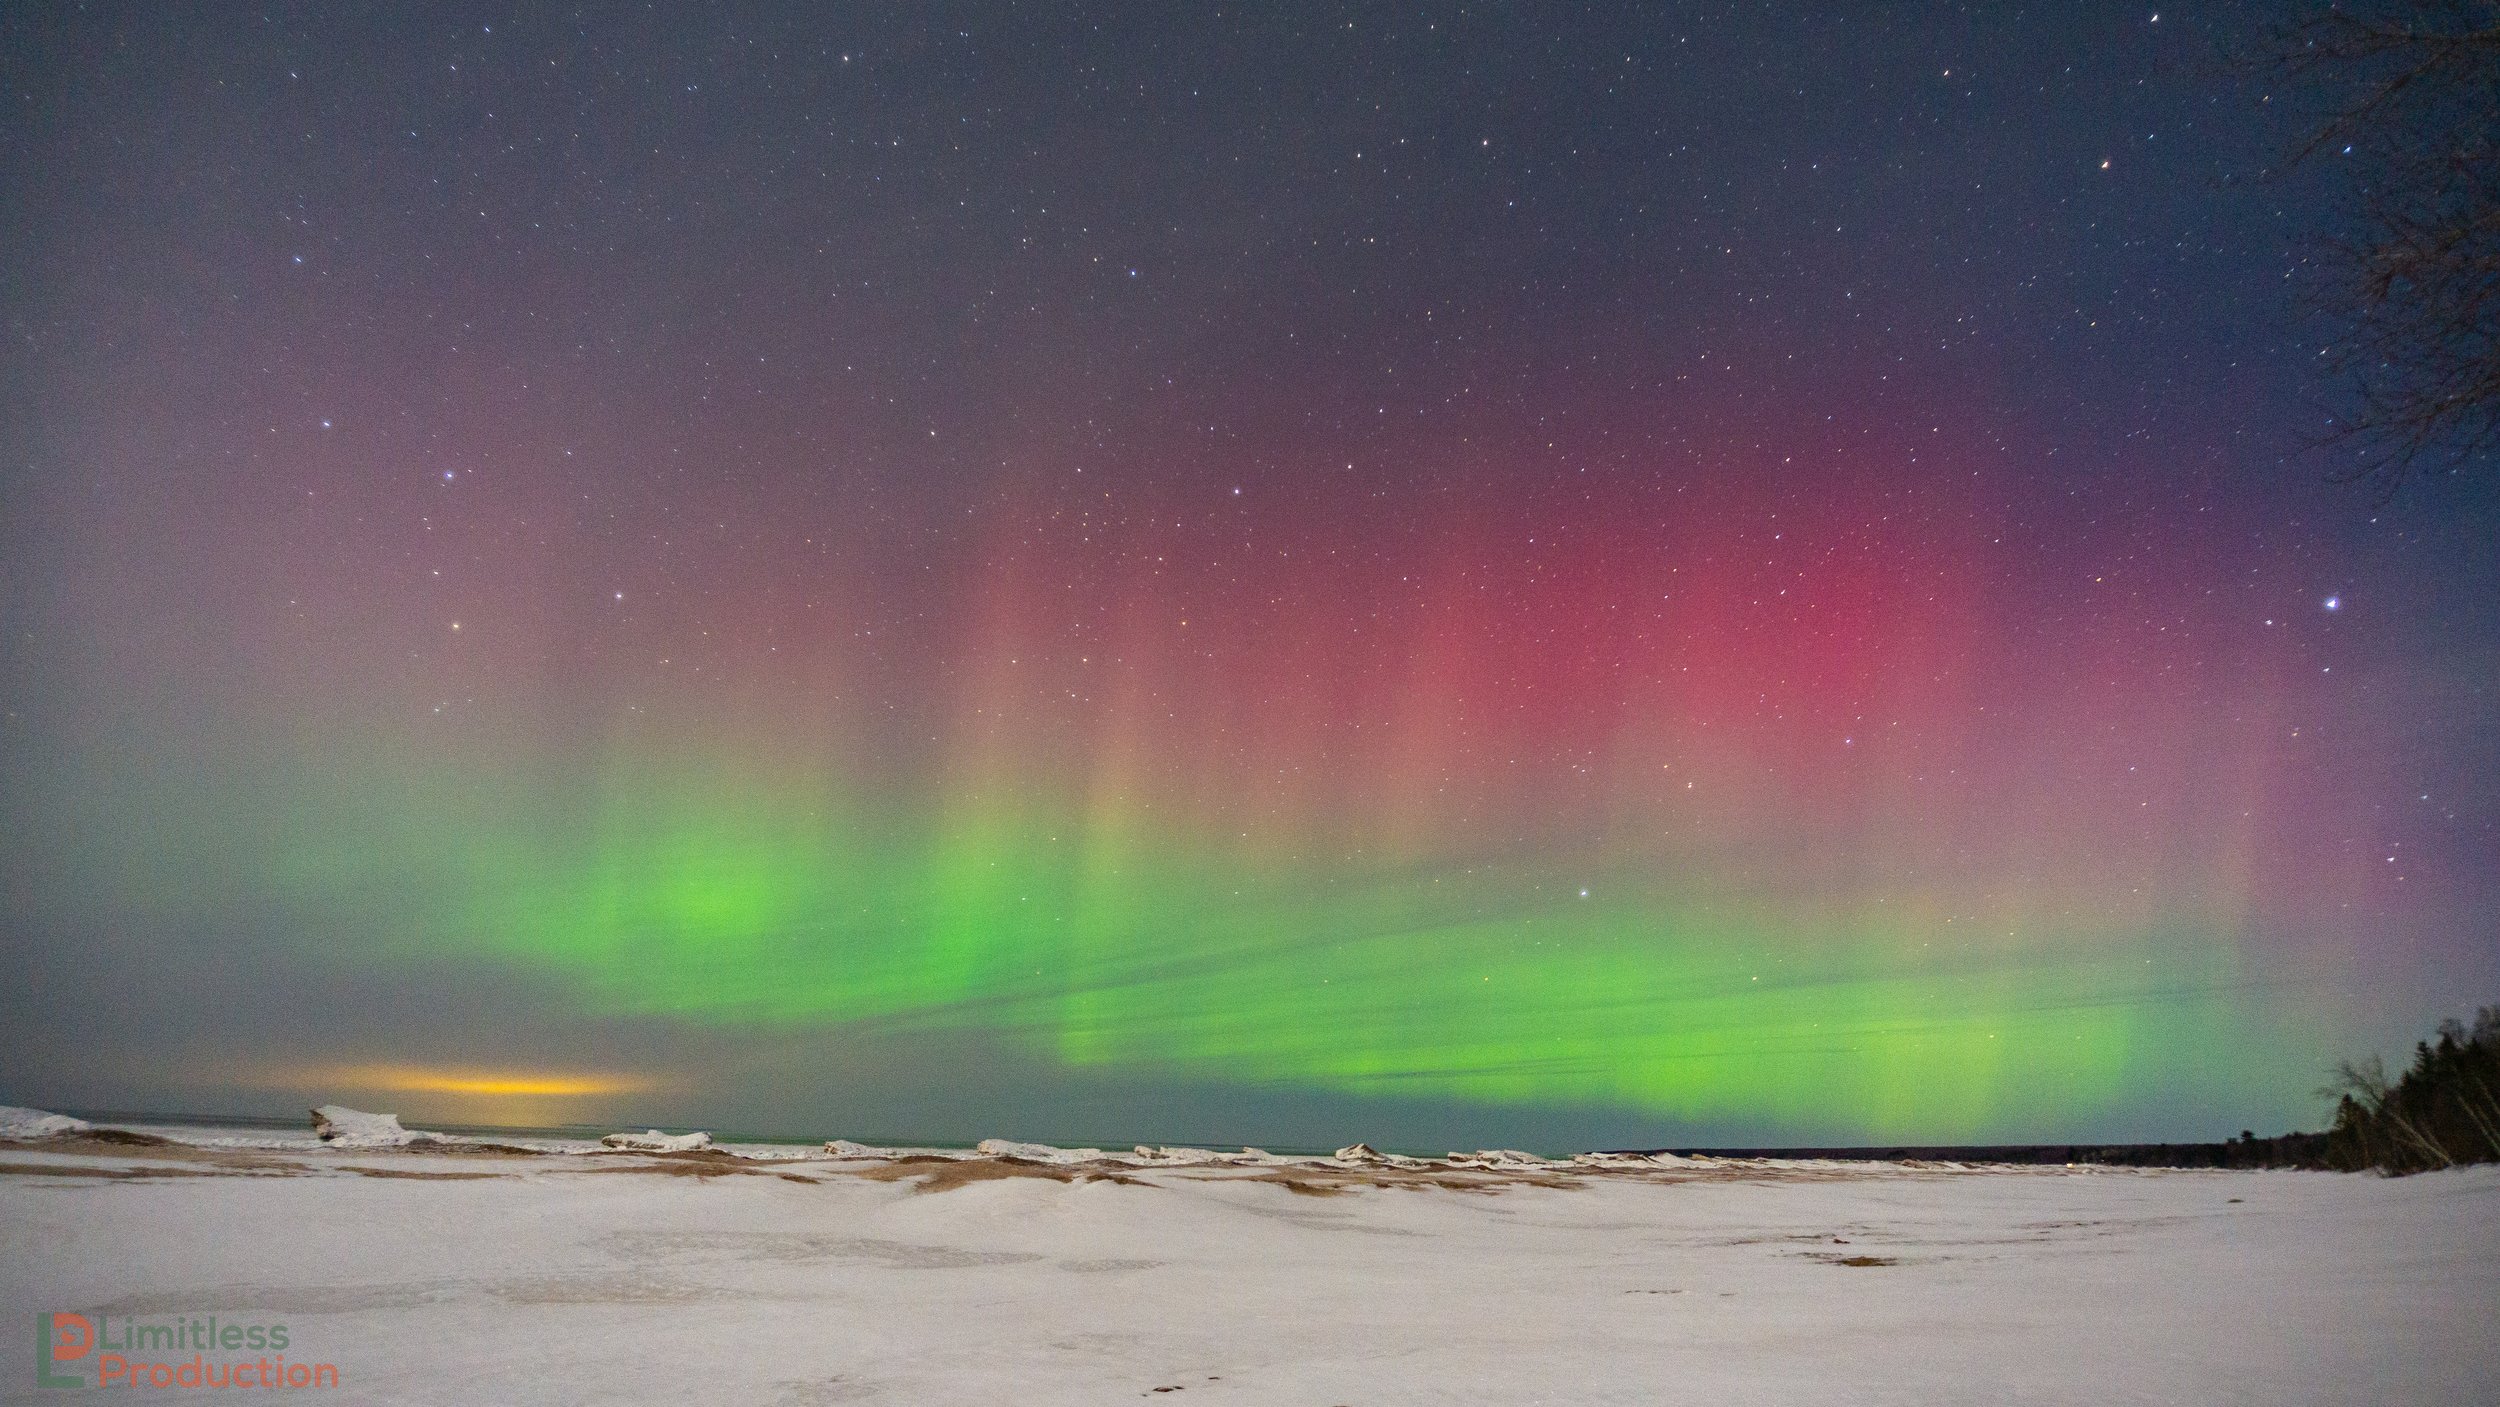
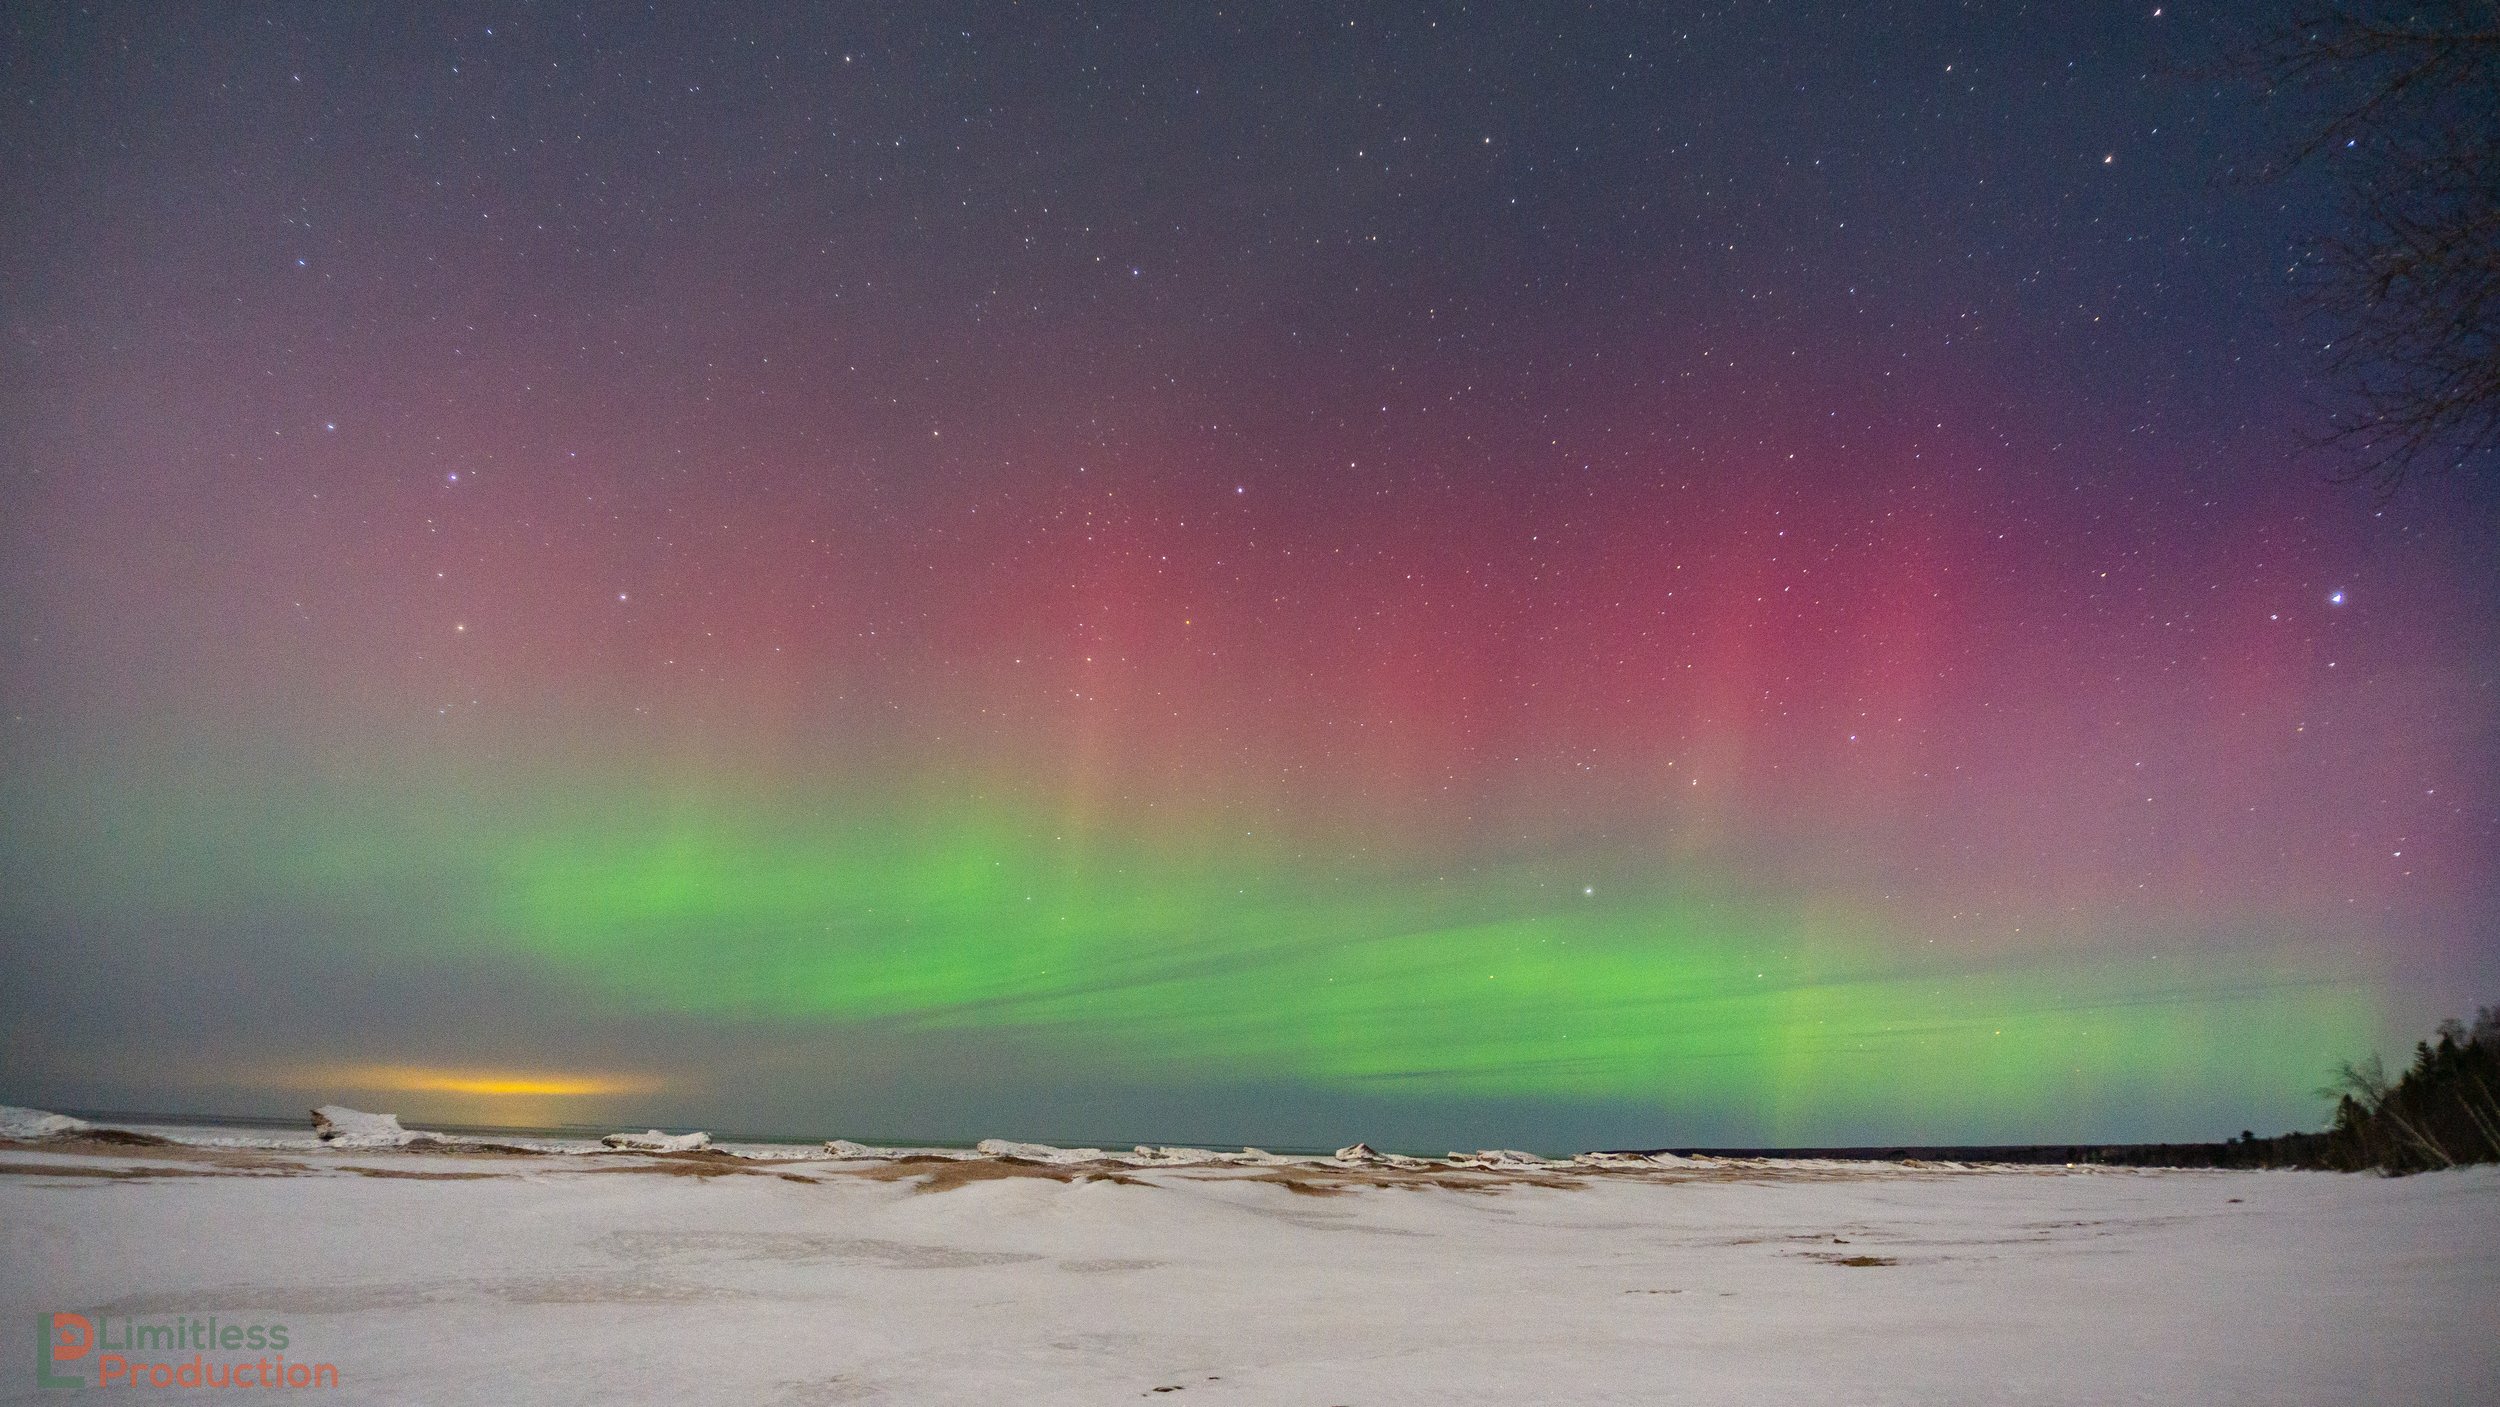
The above photos were long exposures taken with a Sony a6000 camera.
If these tips helped you, please tag us in your photos and video, or send them our way! We would love to see what you captured!